
 EN
EN
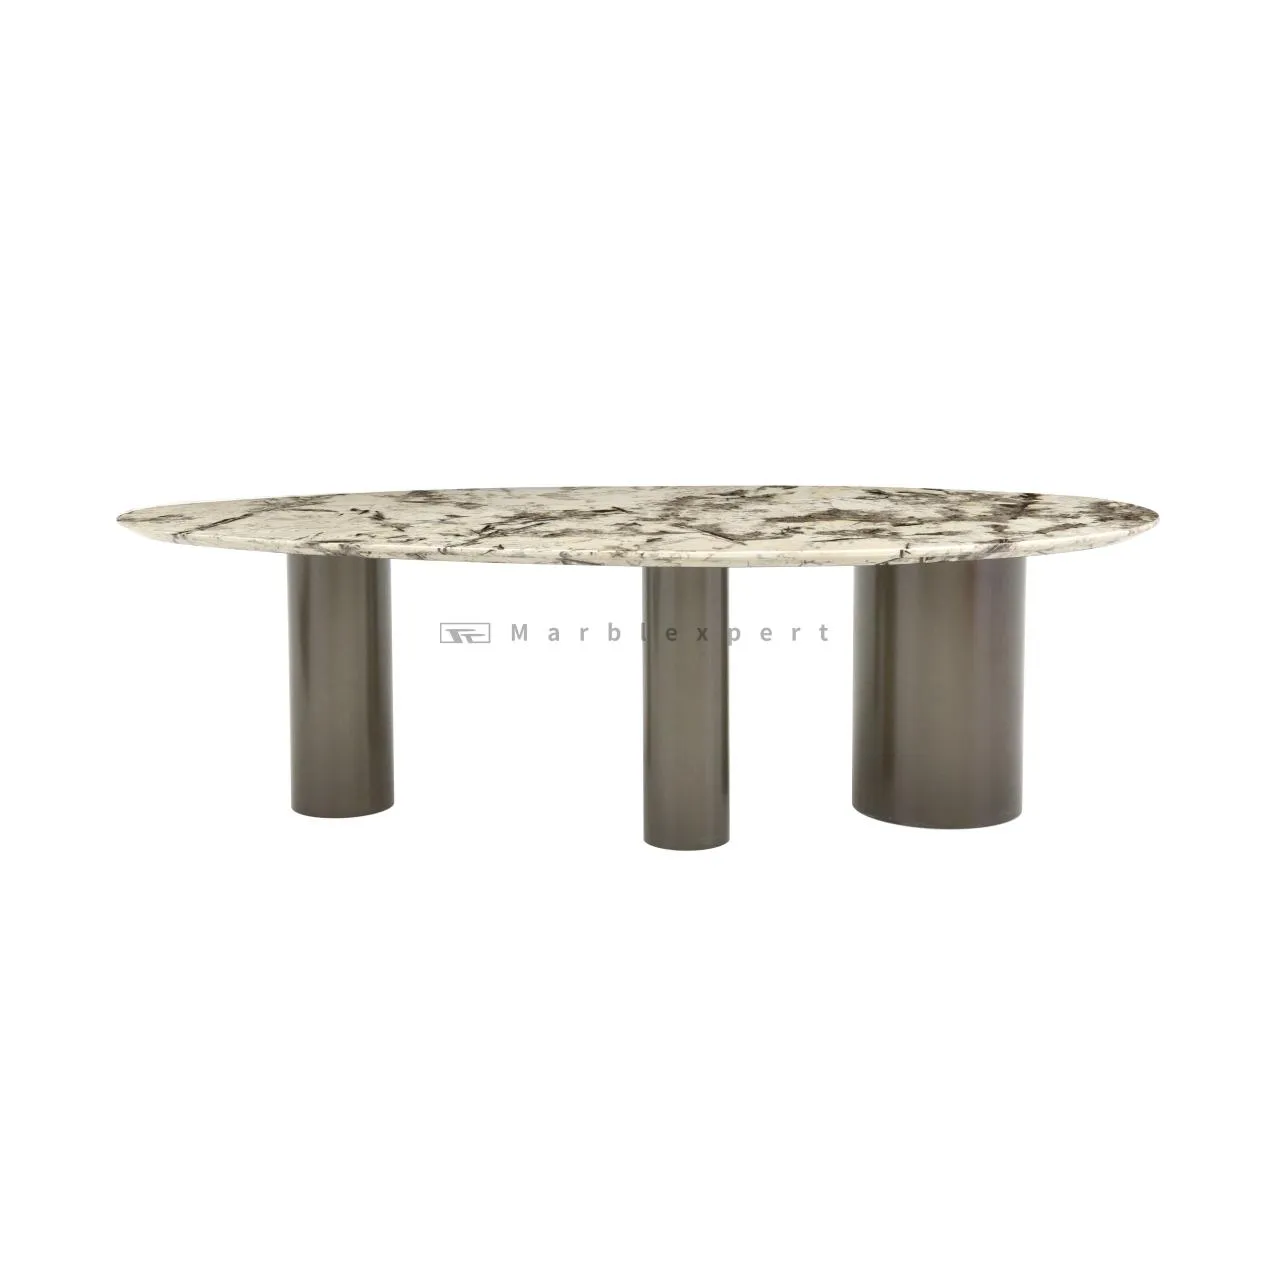
Transforming a living space with customized interior accents has become a highly rewarding pursuit for modern homeowners. Learning how to DIY a simple marble inlay decoration allows craft enthusiasts to experience the ancient art of stone mosaic work on a manageable, residential scale. A classic marble inlay involves embedding contrasting stone pieces, delicate brass elements, or colorful gemstones into a recessed solid stone base to create a flush, continuous surface. While industrial manufacturing utilizes computerized waterjet cutting and heavy-duty calibration machinery, a simplified manual approach brings this sophisticated aesthetic into the home studio, producing custom coasters, decorative trays, or small wall medallions.
Selecting Compatible Stone and Substrate Elements
The foundational step of a successful stone crafting project requires gathering materials that are soft enough to work with hand tools yet durable enough for long-term display. For a beginner-level marble inlay, selecting a soft, pre-polished tile base—such as natural Carrara White or uniform Nero Marquina—provides an excellent substrate. The contrasting insertion materials should share a similar thickness to minimize the labor required during the final leveling process. Incorporating premade brass geometric shapes, mother-of-pearl accents, or contrasting limestone pieces ensures the artistic components fit snugly into the main tile without causing structural cracks or uneven distribution.
Transferring the Geometric Blueprint Safely
Precision during the layout phase prevents costly structural errors and material wastage when carving natural stone. Before handling any cutting instruments, creators must draw a clear, geometric pattern on paper and transfer it onto the polished surface of the base tile using carbon transfer paper or a water-resistant marker. For an optimal DIY outcome, the design should focus on straight lines, bold angles, or simple circular curves rather than intricate filigree patterns. Securing the template firmly onto the stone prevents slippage, ensuring that the boundaries for the upcoming excavation remain distinct and accurate throughout the subsequent mechanical steps.
Executing Precise Excavation Channels Safely
Carving out the recess to receive the decorative stone elements demands patience, steady control, and adherence to safety protocols. Utilizing a handheld rotary tool equipped with a diamond-grit burr or a small tile-cutting bit allows the crafter to gently grind away the stone within the marked blueprint boundaries. It is essential to maintain a uniform depth across the channel, matching the exact thickness of your chosen marble inlay insert pieces. Applying a continuous drip of water to the stone during grinding acts as an effective lubricant, preventing tool overheating and keeping airborne stone dust to an absolute minimum.
Bonding Inserts Securely with Epoxy Compounds
Once the excavation channel is clean, dry, and free of loose stone particles, the assembly phase can begin. Premium clear two-part stone epoxy adhesive is the industry standard for bonding contrasting elements into a primary marble inlay layout. Tinting the epoxy with stone-specific pigment powders that match the background stone color helps mask any microscopic gaps along the seams, creating a seamless visual transition. Carefully pressing the insertion pieces into the adhesive-filled channels ensures that trapped air escapes, preventing future loosening or moisture infiltration when the finished decorative accent is handled or cleaned.
Leveling and Polishing the Completed Masterpiece
The final phase determines the ultimate tactile quality and light-reflective properties of the handcrafted stone decoration. After the structural epoxy cures completely, the raised edges of the inserts must be leveled using progressive wet-diamond sanding blocks, transitioning systematically from a coarse 200-grit up to a ultra-fine 3000-grit matrix. This systematic sanding smooths out surface variations until the fingertips detect no transition between the distinct materials. Applying a final coat of breathable, penetrating stone sealer protects the marble inlay from household stains and enhances the natural deep coloration of the combined mineral components.